 Pin it
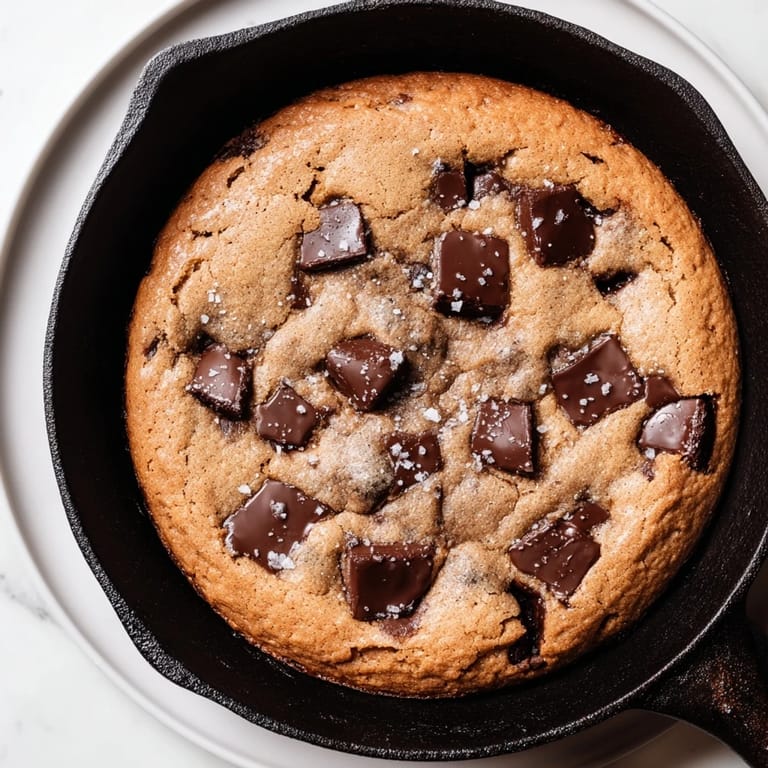
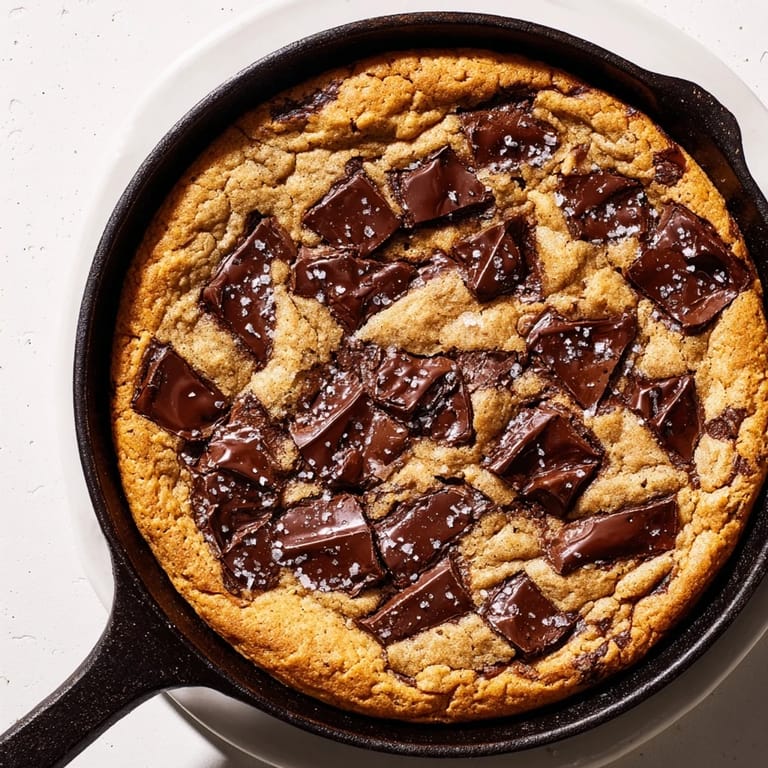
 I pulled my cast iron skillet from the oven one rainy Saturday and realized I'd forgotten what I even made it for. The edges were crisp, the center impossibly soft, and my roommate appeared in the kitchen before I'd set it down. We ate straight from the pan with two forks and no shame. That's how this cookie became a ritual.
The first time I made this for friends, someone asked if I'd trained at a pastry school. I laughed because I'd just thrown it together between conference calls, barely measuring the butter. But that's the magic: it looks impressive, tastes indulgent, and requires nothing more than a decent skillet and the willingness to eat warm chocolate before it cools.
Ingredients
- All-purpose flour: The structure that holds everything together without making it cakey, just use the scoop and level method so it doesn't get dense.
- Baking soda: Gives the cookie that slight lift and chew, don't skip it or you'll end up with a flat buttery mess.
- Salt: Balances the sweetness and makes the chocolate taste more intense, I use fine sea salt but table salt works too.
- Unsalted butter: Melted and slightly cooled so it doesn't scramble the eggs, this is where all the richness comes from.
- Brown sugar: Packed tight, it adds moisture and that deep caramel flavor that makes the cookie taste homemade.
- Granulated sugar: Helps with the crisp edges and balances the chewiness from the brown sugar.
- Eggs: Room temperature if you remember, but honestly I've used them cold and it still works.
- Vanilla extract: Pure is best, the fake stuff has a sharp aftertaste that lingers.
- Chocolate chunks: Use the good stuff, it melts into pockets of molten heaven and cheap chocolate just doesn't hit the same.
- Flaky sea salt: Optional but transformative, one sprinkle on top right before serving and people will ask what your secret is.
- Vanilla ice cream: Cold, creamy, and the only thing better than warm cookie is warm cookie with something melting into it.
Tired of Takeout? 🥡
Get 10 meals you can make faster than delivery arrives. Seriously.
One email. No spam. Unsubscribe anytime.
Instructions
- Preheat the oven:
- Set it to 350°F and let it fully heat while you mix everything. A properly heated oven means even baking and those perfect golden edges.
- Whisk the dry ingredients:
- Combine flour, baking soda, and salt in a medium bowl, then set it aside. This step takes 30 seconds but ensures no clumps of baking soda surprise you later.
- Mix the butters and sugars:
- Whisk melted butter with both sugars until smooth and glossy. It should look like wet sand turning into caramel sauce.
- Add eggs and vanilla:
- Crack in one egg, whisk it completely, then add the second. Stir in vanilla until the whole mixture smells like a bakery.
- Combine wet and dry:
- Pour the flour mixture into the wet ingredients and stir just until no white streaks remain. Overmixing makes it tough, so stop as soon as it comes together.
- Fold in the chocolate:
- Stir in most of the chunks, saving a handful to press on top for that bakery look. The dough will be thick and smell dangerously good.
- Spread into the skillet:
- Press the dough evenly into your skillet, then dot the top with reserved chocolate. It doesn't have to be perfect, rustic looks better anyway.
- Bake until golden:
- Slide it into the oven for 22 to 25 minutes, until the edges pull away slightly and the center still jiggles. It will firm up as it cools, so underbaking slightly is the move.
- Cool and serve:
- Let it sit for 5 minutes, sprinkle with flaky salt, then serve it warm with ice cream. Eating it straight from the skillet is not optional, it's the whole point.
 Pin it
 One night I made this after a long week and sat on the kitchen floor eating it with a fork and a pint of ice cream. My partner found me there and just grabbed a spoon. We didn't talk much, just ate, and it became one of those quiet perfect moments that only happens around really good food.
Choosing Your Chocolate
I've tried this with every chocolate situation imaginable and here's what I've learned: chunks are better than chips because they create molten pools instead of staying solid, and dark chocolate makes it feel fancy while semi-sweet keeps it comforting. If you chop a good bar yourself, you get irregular pieces that melt at different rates, which somehow makes every bite different. I keep a stash of 60% cacao bars just for this.
Skillet Variations
Cast iron is traditional and gives you the crispest edges, but I've baked this in a regular oven-safe skillet and even a pie dish when my cast iron was dirty. The baking time stays the same, though thinner pans might need a minute or two less. If you don't have a 10-inch skillet, an 8-inch works but bake it a few minutes longer since the dough will be thicker.
Storing and Reheating
Leftovers are rare in my house, but when they happen I cover the skillet with foil and leave it on the counter for up to two days. Reheat individual slices in the microwave for 15 seconds or the whole thing in a 300°F oven for 10 minutes. It won't be quite as magical as fresh from the oven, but it's still better than most desserts.
- Add a tablespoon of peanut butter swirled into the dough for a salty-sweet twist.
- Toss in chopped walnuts or pecans if you want crunch against all that softness.
- Drizzle caramel sauce over the top right before serving for full decadence mode.
 Pin it
 This skillet cookie has become my answer to every celebration, bad day, or random Tuesday that needs saving. I hope it does the same for you.
Recipe FAQs
- → What type of chocolate works best?
Semi-sweet or dark chocolate chunks are ideal, providing a rich flavor that melts beautifully throughout the warm dessert.
- → Can I use chocolate chips instead of chunks?
Yes, chocolate chips can be used as a convenient alternative and will melt similarly when baked.
- → How do I achieve a gooier center?
To keep the center gooey, slightly underbake by 2 to 3 minutes, checking for a soft but set texture.
- → What are some tasty toppings to add?
Flaky sea salt, vanilla ice cream, whipped cream, or caramel drizzle complement the warm chocolate flavors wonderfully.
- → Can I customize this with nuts or other mix-ins?
Yes, adding chopped nuts or swirling in peanut butter adds texture and enhances the rich flavors.