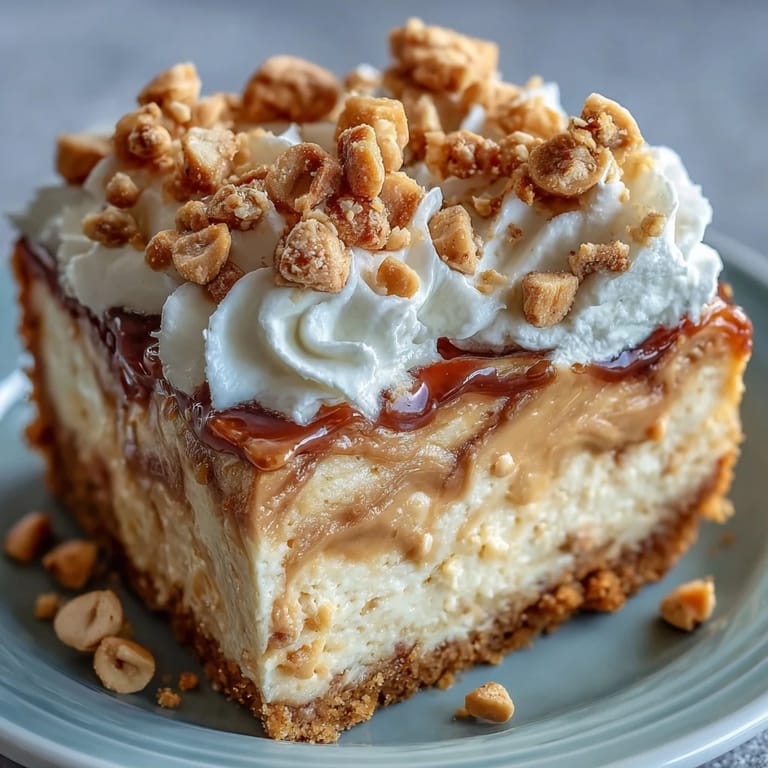
 Pin it
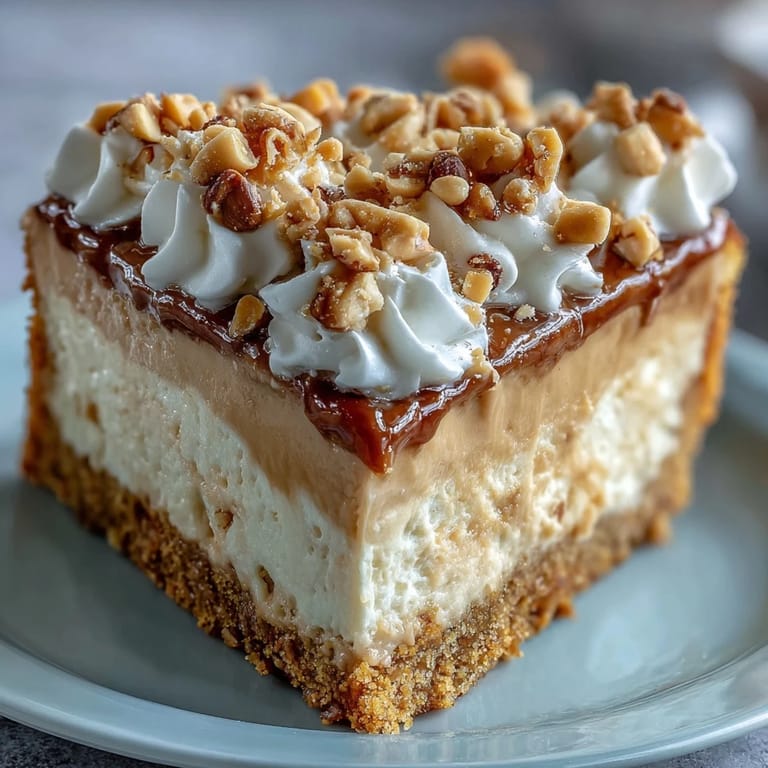
 My neighbor brought over a slice wrapped in foil one Saturday morning, still cold from her fridge. She didn't say much, just grinned and told me to try it before asking questions. One bite in, I was texting her for the recipe while still chewing. The peanut butter wasn't just mixed in, it was everywhere, sweet and salty and impossibly creamy against that cookie crust that tasted like childhood snack time grown up.
I made this for my brother's birthday last year because he's never met a peanut butter dessert he didn't inhale. He ate two slices standing at the counter before the candles were even lit. My aunt asked if I'd used some secret French technique, and I had to admit it was just Nutter Butters, cream cheese, and a little patience. Sometimes the best recipes don't need to be complicated, they just need to taste like exactly what they are.
Ingredients
- Nutter Butter cookies: These create a crust that tastes like concentrated peanut butter nostalgia, no need to add extra sugar or flavoring since they bring both.
- Unsalted butter: Melted and mixed with the crushed cookies, it acts like glue that bakes into a firm, sliceable base you can actually trust.
- Cream cheese: Make sure it's truly soft, not cold, or you'll end up with lumps no amount of mixing will save.
- Granulated sugar: Just enough to sweeten without making it cloying, letting the peanut butter shine through.
- Vanilla extract: A little warmth in the background that makes everything taste more intentional.
- Eggs: They set the filling into that perfect creamy texture, but only if you don't overmix after adding them.
- Creamy peanut butter: Go for the regular stuff, not natural, it blends smoother and doesn't separate during baking.
- Heavy whipping cream: Whip it fresh right before serving so it stays cloud-like and doesn't weep on top of your masterpiece.
- Powdered sugar: Sweetens and stabilizes the whipped cream just enough to hold its shape on the finished cheesecake.
- Chopped peanuts: A crunchy garnish that adds texture and reminds everyone this is a peanut butter party.
Tired of Takeout? 🥡
Get 10 meals you can make faster than delivery arrives. Seriously.
One email. No spam. Unsubscribe anytime.
Instructions
- Prep the pan:
- Preheat your oven to 325°F and grease a 9-inch springform pan, then line the bottom with parchment so the crust releases cleanly later. This small step saves you from heartbreak when it's time to serve.
- Build the crust:
- Crush the Nutter Butters until they're fine crumbs, then stir in melted butter until it looks like wet sand. Press it firmly into the pan using the back of a measuring cup, then bake for 10 minutes and let it cool completely.
- Beat the base:
- Whip softened cream cheese and sugar together on medium speed until it's smooth and fluffy, about 2 to 3 minutes. Scrape down the sides so nothing hides in the corners.
- Blend in the peanut butter:
- Add vanilla and peanut butter, mixing until the whole thing turns silky and evenly colored. You'll smell it before you see it, that warm toasted peanut scent filling the kitchen.
- Fold in the eggs:
- Crack them in one at a time, beating on low and stopping as soon as each one disappears into the batter. Overmixing now invites cracks later, and nobody wants that kind of stress.
- Pour and smooth:
- Spread the filling over your cooled crust, using a spatula to level the top. It should look glossy and thick, like it's already promising something great.
- Bake low and slow:
- Slide it into the oven for 50 to 60 minutes, until the edges are set but the center still has a gentle jiggle. It'll firm up as it cools, so don't wait for it to look totally solid.
- Cool it down gently:
- Turn off the heat, crack the oven door, and let the cheesecake sit inside for an hour. This gradual cooldown keeps the top from splitting like a fault line.
- Chill completely:
- Move it to the fridge for at least 4 hours, though overnight is even better. The flavors deepen and the texture becomes impossibly creamy when it's had time to rest.
- Whip the topping:
- Beat cold heavy cream with powdered sugar until stiff peaks form, light and airy. Spread it over the chilled cheesecake just before serving so it stays fresh and fluffy.
- Garnish and slice:
- Scatter chopped peanuts on top and tuck in a few whole Nutter Butters for drama. Use a hot, dry knife to cut clean slices, wiping it between each cut.
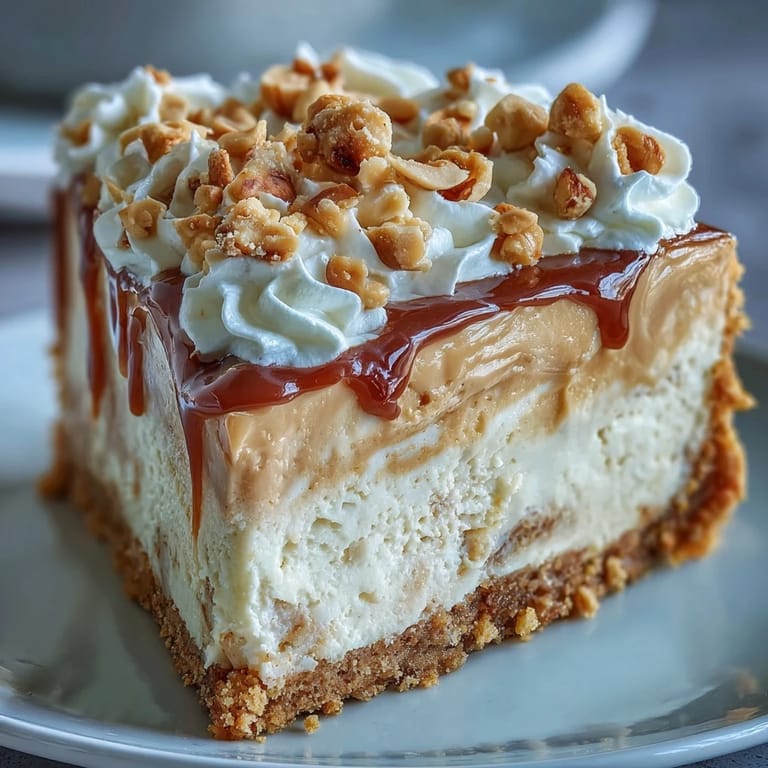
 Pin it
 The first time I brought this to a potluck, someone asked if I'd ordered it from a bakery. I didn't correct them right away because it felt good to let them wonder. Later, when I admitted it came from my own oven, three people wanted the recipe texted to them before dessert was even cleared. That's when I knew this wasn't just cheesecake, it was the kind of thing people remember and ask about months later.
Make It Even Better
A water bath sounds fussy, but it's just wrapping your springform pan in foil and setting it in a roasting pan with an inch of hot water. The steam keeps the cheesecake moist and helps it bake evenly, which means fewer cracks and a creamier bite. I started doing it after one too many split tops, and now I won't skip it even when I'm in a hurry.
Storing and Serving
This cheesecake keeps covered in the fridge for up to five days, though it rarely lasts that long in my house. The flavors actually get better on day two, deeper and more rounded, like they've had time to get to know each other. If you're making it ahead, add the whipped cream and garnish right before serving so everything stays picture perfect.
Little Touches That Matter
I like to drizzle warm chocolate or caramel sauce over each slice just before it hits the plate. It doesn't need it, but it turns a simple dessert into something that feels like a special occasion.
- Use a hot knife for clean slices, dip it in hot water and wipe it dry between cuts.
- Let the cheesecake sit at room temperature for 10 minutes before slicing so it's creamy, not cold and stiff.
- If you don't have a springform pan, a regular cake pan works, just line it well and be gentle lifting it out.
 Pin it
 This is the dessert I make when I want to feel like I've really done something, but without spending all day in the kitchen. It's rich, it's impressive, and it tastes like the best parts of every peanut butter memory you've ever had.
Recipe FAQs
- → Can I make this ahead of time?
Absolutely! This cheesecake actually develops deeper flavor when made a day ahead. Store it covered in the refrigerator for up to 3 days before serving.
- → Should I use a water bath?
While optional, a water bath helps create a creamier texture and prevents cracks on the surface. Simply wrap your springform pan in foil and place it in a roasting pan filled with hot water.
- → How do I know when it's done baking?
The edges should be set while the center remains slightly jiggly, similar to gelatin. The residual heat will complete the cooking as it cools.
- → Can I use natural peanut butter?
Regular creamy peanut butter works best as it contains stabilizers that help maintain the cheesecake's structure. Natural peanut butter may cause the filling to become too soft.
- → What if my cheesecake cracks?
Don't worry! The whipped cream topping will beautifully conceal any cracks. To minimize cracking, avoid over-mixing the eggs and let it cool gradually in the oven with the door cracked open.
- → Can I freeze leftovers?
Yes! Wrap individual slices tightly in plastic wrap and freeze for up to 2 months. Thaw in the refrigerator overnight before serving.