 Pin it
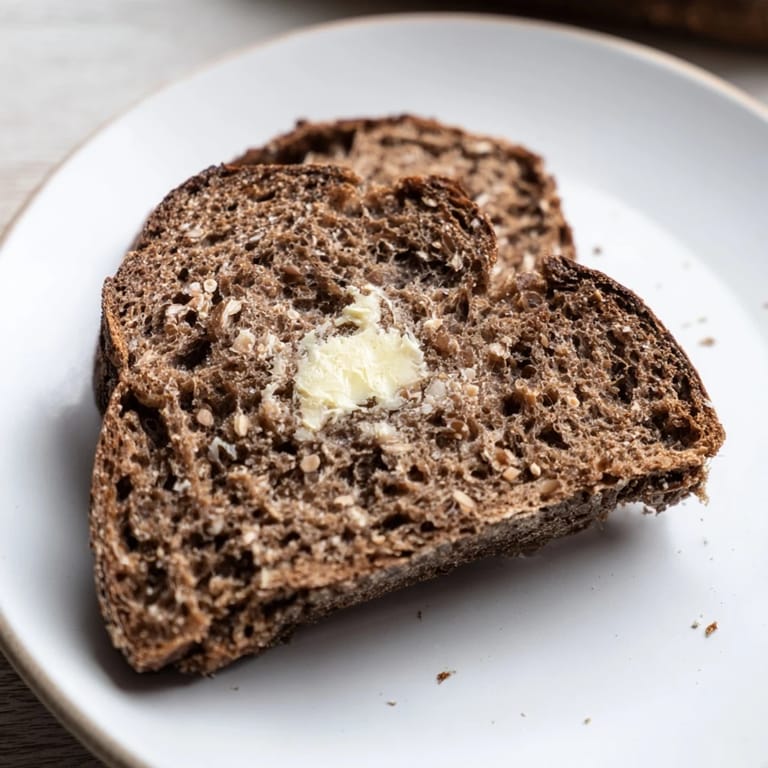
 My grandmother kept a jar of rye starter on her kitchen shelf in Tallinn, and I never understood why she spoke about it like it was a living relative until I inherited a portion of it myself. The first loaf I made from that starter filled the apartment with a smell so deep and complex—earthy, slightly sweet, touched with something fermented and ancient—that I knew immediately why this bread had sustained her family through long winters. It wasn't just hunger it satisfied, but something about tasting her hands in every slice.
I learned to make this bread properly when my partner's mother came to visit and sat at the kitchen table, quietly watching me rush through the first rise. She didn't correct me with words but simply waited, then showed me how the dough should smell when it was truly ready—funky, alive, completely transformed from the stiff mass I'd mixed that morning. That one adjustment changed everything.
Ingredients
- Active rye sourdough starter (100 g): This is your time machine—a living culture that turns simple flour and water into something your great-grandmother would recognize immediately, so make sure yours is bubbly and ready before you begin.
- Dark rye flour (400 g) and bread flour (100 g): Rye gives you that signature deep flavor and color, but wheat flour adds structure so the loaf doesn't collapse on itself, a lesson learned after one particularly dense attempt.
- Lukewarm water (300 ml): Temperature matters more than you'd think—too hot kills your starter, too cold and nothing wakes up during the rise.
- Dark rye malt or barley malt powder (50 g): This ingredient is the secret handshake, adding subtle sweetness and color that makes people ask what's in it before they even taste it.
- Molasses or dark honey (2 tbsp): Don't skip the molasses thinking honey is the same thing; molasses brings a mineral quality that honey just can't match, and it's what gives the crumb its dark, almost purple undertone.
- Caraway seeds (1 tbsp, plus optional topping): Toast them first if you want the flavor to sing, though the raw seeds add a pleasant herbal note that builds as you eat.
- Fine sea salt (2 tsp): Measured carefully because salt controls fermentation speed, and too much makes everything sluggish.
Tired of Takeout? 🥡
Get 10 meals you can make faster than delivery arrives. Seriously.
One email. No spam. Unsubscribe anytime.
Instructions
- Start your dough foundation:
- Combine your starter, lukewarm water, and molasses in a large bowl, stirring until the molasses dissolves completely and the mixture looks like strong coffee with cream. The starter should break up easily, but if it's been refrigerated, give it a minute to loosen up.
- Bring the flour into the party:
- Add both flours, malt powder, caraway seeds, and salt all at once, then mix with a wooden spoon until you have one shaggy, sticky mass with no dry flour hiding in the corners. Don't expect this to look like bread dough yet—it won't, and that's correct.
- Let time do the first work:
- Cover your bowl with a damp cloth and set it somewhere stable at room temperature, ideally between 68–72°F if you can manage it. After about 8 hours you'll see the surface get bubbly and active, and by 10–12 hours the dough will have expanded enough that you can almost see it moving.
- Shape and give it a second life:
- Line a loaf pan with parchment or oil, then scrape your dough into it with wet hands—it stays sticky by design, which is why wet hands matter. Smooth the top gently with a wet spatula, sprinkle caraway seeds across if you want that visual signature, then cover loosely.
- Watch for the second rise:
- This takes 2–4 hours depending on your kitchen temperature, and you'll know it's ready when the dough just reaches the rim of the pan and jiggles slightly when you move it. Don't let it climb over the edge or it will bake into a shape that doesn't fit your knife.
- Create steam and bake:
- Heat your oven to 220°C and put a pan of hot water on the bottom rack before the bread goes in—steam is what gives you that shattering crust. Bake at the high temperature for 15 minutes, then reduce to 190°C for another 30 minutes until the crust is nearly black and the loaf sounds hollow when you tap the bottom.
- Cool completely before you slice it:
- This is the hardest part because the bread smells ready immediately, but the crumb is still setting up inside for at least an hour. Slice it too early and you'll get gummy interiors that compress—wait and it transforms into something with proper structure.
 Pin it
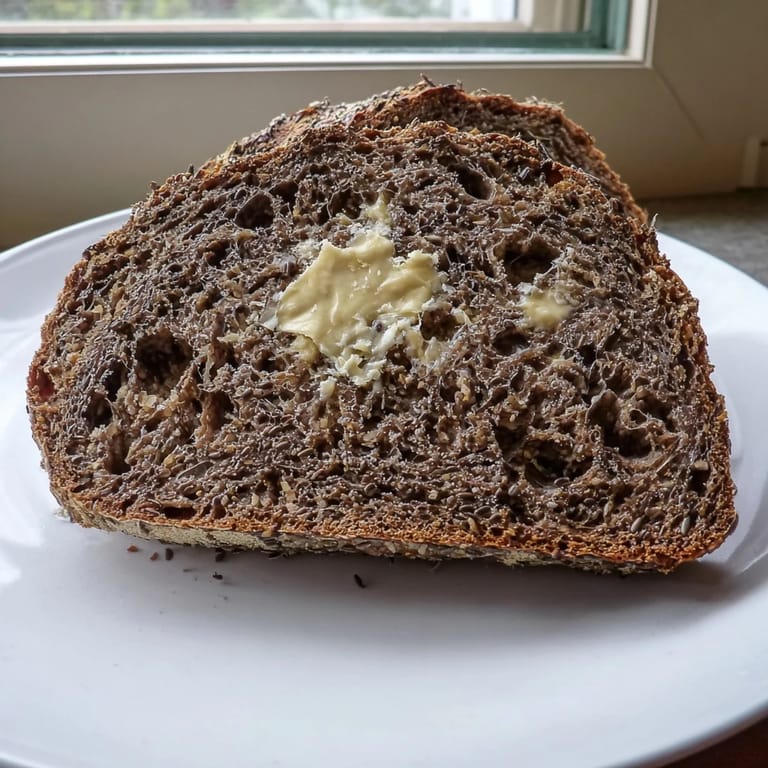
 There's a moment, maybe three days into keeping this bread, when you slice into it and find that the crumb has transformed into something almost silky, the flavors deeper and more integrated than they were on day one. That's when my partner will eat a slice with just cold butter and tell me this is what bread should be, which makes all those hours of waiting feel exactly right.
The Story of Sourdough Starter
Rye starter behaves differently than wheat starter, and understanding that changes everything about how you approach this bread. Rye ferments faster because the grain has more enzymes already built in, which means your dough will rise quicker and need less time overall, so if you're used to wheat sourdough you'll want to watch closely and adjust your timeline. The starter itself should smell earthy and pleasant, not acetone-sharp or alcoholic, because those smells mean it's past its prime or too hungry.
Why Malt Makes the Difference
Malt powder is what separates this bread from a basic rye loaf, and it's worth seeking out because it adds color, subtle sweetness, and a complexity that makes people lean in when they smell the crust. The malt is already converted grain, which means it gives your dough immediate fermentation fuel and adds enzymes that help break down the rye flour more completely, leading to better digestibility and a more interesting crumb. If you can't find dark rye malt specifically, barley malt powder works beautifully, though you might lose a tiny bit of the rye-specific flavor.
Serving and Storage Wisdom
This bread is designed to last, improving with time as the flavors marry and the crumb settles into a more refined texture. Wrap it in a clean kitchen towel rather than plastic, which traps moisture and makes the crust soft, and it will keep beautifully for a week. The magic serving combinations are simple: dark bread, smoked fish, good butter, aged cheese, or eaten plain with your coffee while it's still slightly warm from the toaster.
- Slice it thick enough that it holds together but thin enough that the crust shatters when you bite into it.
- Toast day-old slices to refresh the crust and warm the crumb if it's gotten too dense from sitting.
- Save any stale bread to make kvass or breadcrumbs rather than throwing it away—this bread is too good for that.
 Pin it
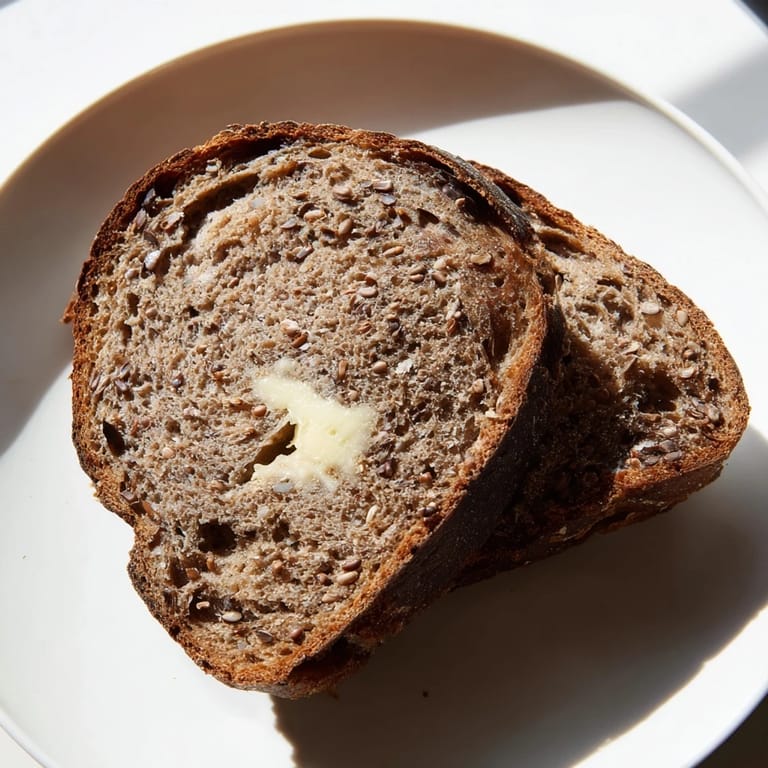
 This bread carries history in its crumb and flavor, and making it connects you to a way of eating that's survived centuries for good reason. Every loaf you bake is a conversation with time itself.