 Pin it
 The first time I made these onion rings was during a Super Bowl party years ago. I had attempted to make them from scratch once before and ended up with a soggy mess that fell apart in the oil. This time, I was determined to get them right, and the moment that first ring came out golden and crackling, I knew I had stumbled onto something special. My friends stood around the kitchen counter, snatching them off the cooling rack faster than I could fry them.
Last summer, I made these for a backyard barbecue and watched my cousin who claims to hate onions eat seven of them without realizing what they were. The look on her face when I told her was absolutely priceless. Now every time we have a get together, someone texts me ahead of time asking if the onion rings are on the menu.
Ingredients
- 2 large yellow onions: Yellow onions have the perfect balance of sweetness and bite, and they hold their shape better than red onions when fried
- 1 cup all purpose flour: Forms the base of your batter and creates that crucial structure that holds everything together
- ½ cup cornstarch: This is the secret weapon for extra crunch, do not skip it or substitute
- 1 teaspoon baking powder: Adds tiny air bubbles to the batter making it lighter and crispier
- 1 teaspoon smoked paprika: Gives a subtle smoky depth that makes people ask what your secret ingredient is
- 1 teaspoon garlic powder: Provides savory background notes without overwhelming the onion flavor
- 1 teaspoon salt: Essential for bringing out all the flavors and balancing the sweetness of the onions
- ½ teaspoon freshly ground black pepper: Adds just enough warmth and complexity
- 1 cup cold sparkling water: Must be cold and sparkling, the carbonation creates bubbles in the batter for maximum crunch
- 2 large eggs: Helps the batter adhere to the onions and adds richness
- 2 cups panko breadcrumbs: Japanese breadcrumbs create a superior crunch compared to regular breadcrumbs
- Vegetable oil for frying: Has a neutral flavor and high smoke point perfect for deep frying
Tired of Takeout? 🥡
Get 10 meals you can make faster than delivery arrives. Seriously.
One email. No spam. Unsubscribe anytime.
Instructions
- Prep the onions:
- Slice your onions into rings about three quarters of an inch thick, then separate them and discard the very thin outer rings that will burn too quickly.
- Mix the dry ingredients:
- Whisk together the flour, cornstarch, baking powder, smoked paprika, garlic powder, salt, and pepper in a large bowl until well combined.
- Make the wet mixture:
- Beat the eggs with the cold sparkling water until frothy, then pour into the dry ingredients and whisk until smooth with no lumps.
- Set up your coating station:
- Pour the panko into a shallow dish where you can easily press the onion rings into the crumbs.
- Coat the rings:
- Dip each onion ring into the batter, let the excess drip off for a second, then press firmly into the panko to coat completely.
- Heat the oil:
- Bring your oil to 350 degrees Fahrenheit, using a thermometer if you have one since this temperature makes all the difference.
- Fry to perfection:
- Cook the rings in batches for two to three minutes, turning them once or twice, until they are deep golden brown and sound hollow when tapped.
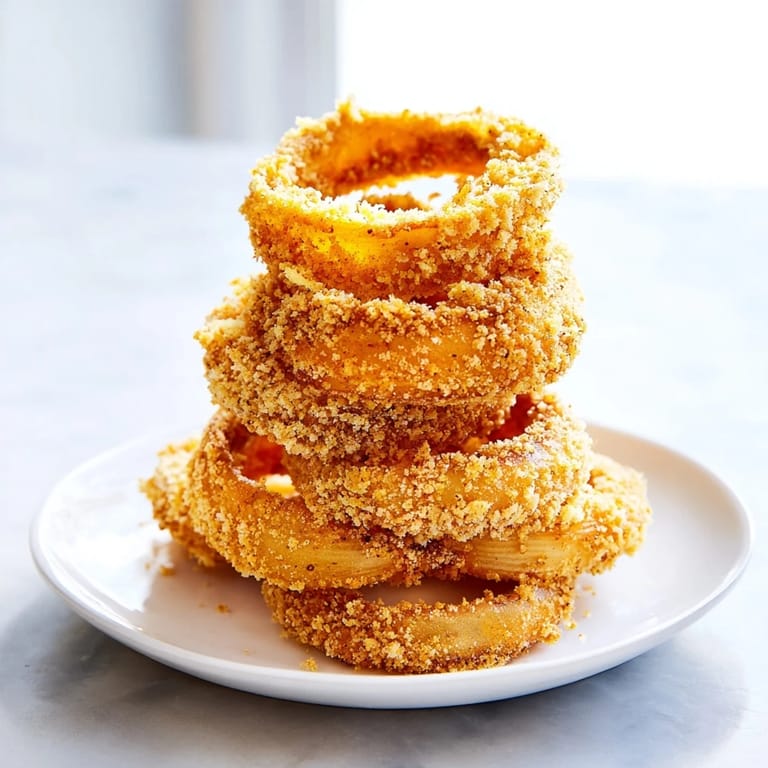
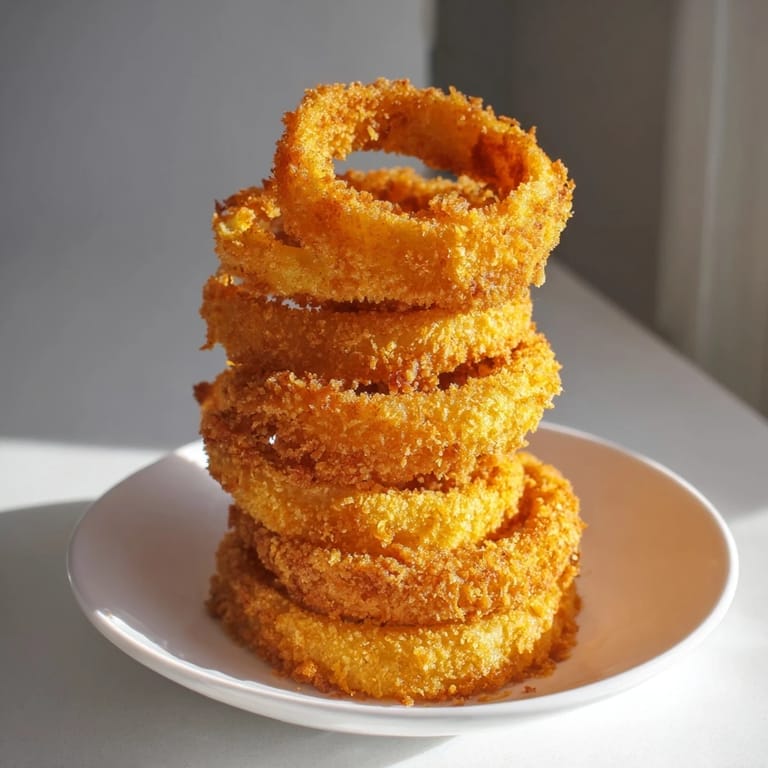
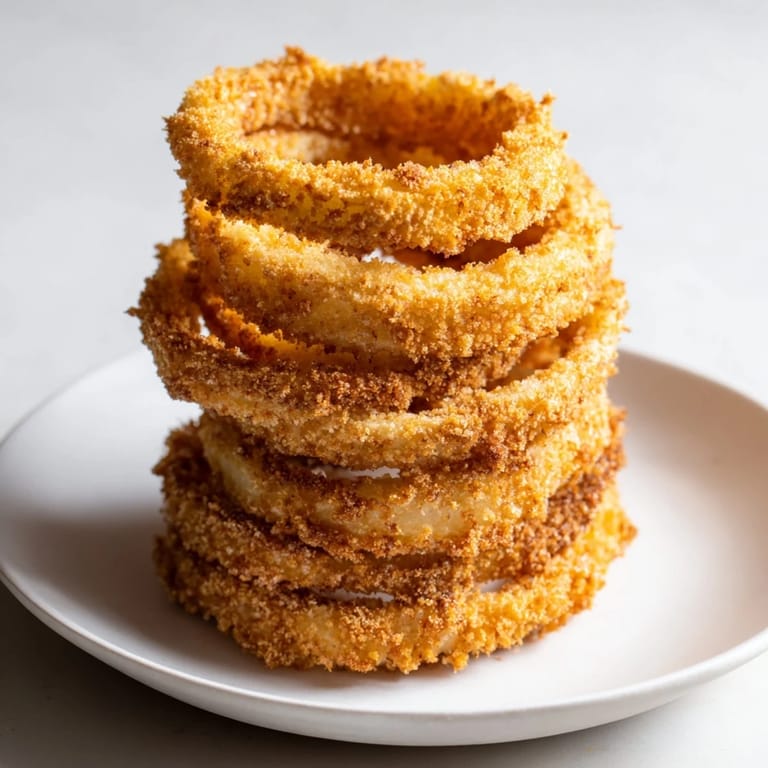
- Build your tower:
- Stack the finished rings on a serving platter while they are hot and crispy, letting everyone see how impressive they look.
 Pin it
 My husband proposed to me on a night I had made these as part of a fancy anniversary dinner at home. He said he wanted to make sure I knew he loved me for more than just my cooking, but he definitely ate three onion rings before getting down on one knee.
Choosing the Right Onion
I have tested every onion variety under the sun, and yellow onions are consistently the winner for frying. They caramelize beautifully without becoming overly sweet, and their layers stay intact during the frying process better than sweeter varieties like Vidalia.
Oil Temperature Secrets
The difference between perfect onion rings and disappointing ones comes down to oil temperature. Too cold and they absorb grease, too hot and they burn before cooking through. I keep an instant read thermometer near the pot and maintain 350 degrees Fahrenheit religiously.
Keeping Them Crispy
Nothing is sadder than perfectly fried onion rings turning soggy on a paper towel lined plate. I learned to set a wire rack over a baking sheet in a 200 degree Fahrenheit oven, where the rings stay hot and crisp while I finish the remaining batches.
- Sprinkle with a pinch of salt immediately after frying while the oil is still hot
- Avoid stacking them flat until they have cooled for at least two minutes
- Never cover them with foil or they will steam and lose their crunch
 Pin it
 These onion rings have become my go to comfort food, and something tells me they are about to become yours too. There is nothing quite like pulling that first hot, crunchy ring off the tower and watching it disappear in seconds.
Recipe FAQs
- → How thick should the onion rings be sliced?
Slice the onions into ¾-inch (2 cm) thick rings to ensure a satisfying crunch while maintaining a tender inside.
- → What makes the batter crispy and light?
The combination of flour, cornstarch, baking powder, and sparkling water creates a light and crispy batter that holds to the onion rings well.
- → Can these onion rings be air-fried instead of deep-fried?
Yes, air-frying at 400°F (200°C) for 8–10 minutes with a light oil spray produces a similarly crispy texture with less oil.
- → What is the purpose of panko breadcrumbs in this dish?
Panko breadcrumbs add an extra layer of crunch for a distinct, crispy coating on each onion ring.
- → How can I keep the onion rings hot and crisp before serving?
Place cooked rings on a wire rack in a 200°F (95°C) oven to maintain heat and prevent sogginess while frying batches.
- → Are there any flavor variations to try?
Adding grated Parmesan or cayenne pepper to the coating enhances flavor with a spicy or cheesy kick.