 Pin it
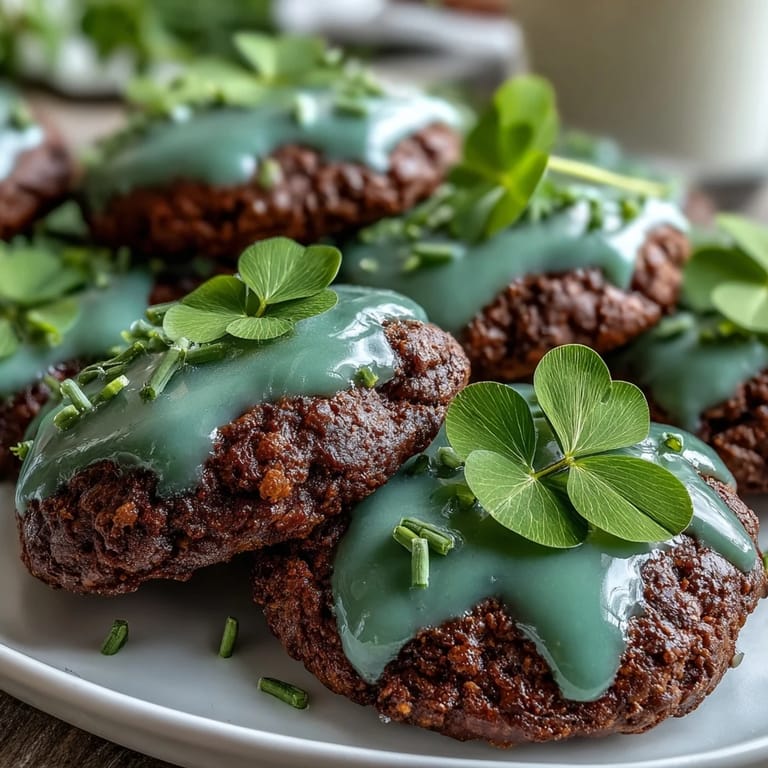
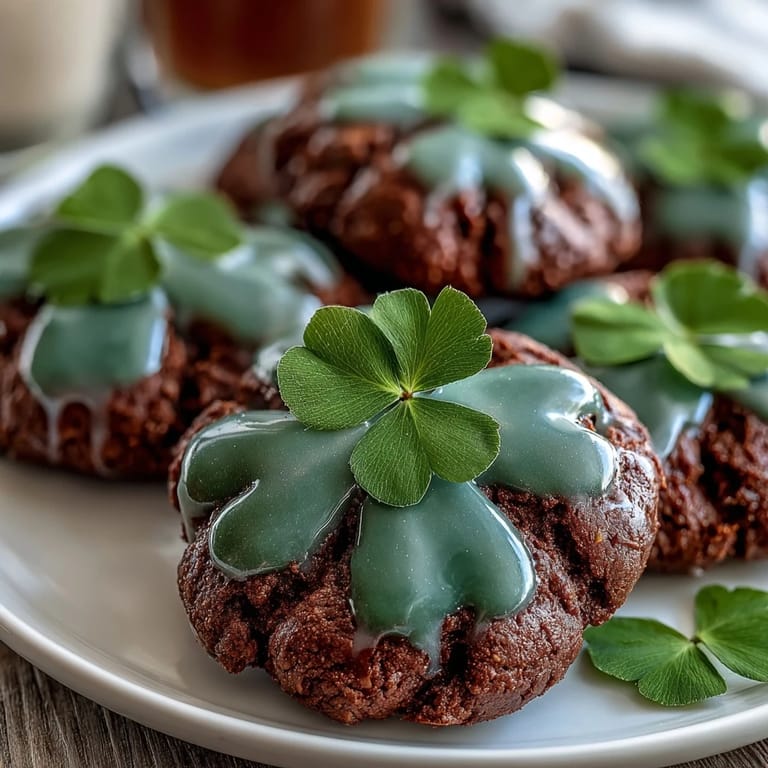
 My kitchen smells like butter and vanilla on the morning of March seventeenth, and suddenly I'm five years old again, pressing cookie cutters into dough while my grandmother hums Irish melodies. These shamrock sugar cookies showed up in my life during a particularly quiet St. Patrick's Day when I wanted to feel less alone, and somehow the act of piping tiny green icing leaves became a meditation on hope. Now every March, friends ask if I'm making them, and I realize this recipe has become the thing people remember about me. It's just buttery dough and royal icing, but it tastes like belonging.
I'll never forget the year I made triple batches of these for a St. Patrick's Day office party, and my coworker Sarah stood in front of the dessert table for a solid two minutes just admiring the colors. She didn't eat one right away, which told me everything, and when she finally bit in, her eyes actually closed. That moment when food stops being food and becomes a memory is exactly why I keep making these.
Ingredients
- All-purpose flour: Use the 1/3-cup scoop method or weigh your flour for consistency, because packed flour creates tough cookies and I learned that the hard way.
- Baking powder: This gives the dough just enough lift to create cookies with tender, slightly crumbly edges that catch the light when you decorate them.
- Unsalted butter: Room temperature is non-negotiable here, so leave it on the counter for thirty minutes before creaming, or use the microwave in five-second bursts if you're impatient like me.
- Granulated sugar: The standard white sugar creates the right texture, and mixing it thoroughly with butter incorporates air that makes these cookies taste lighter than they should.
- Egg and vanilla: One large egg adds moisture and richness, while vanilla extract deepens the flavor without making it sound fancy.
- Almond extract: I skip this half the time and the cookies are still perfect, but when I remember to add it, there's a subtle nuttiness that lingers in the best way.
- Powdered sugar: Sift it directly into your bowl to avoid lumps that will make your icing grainy and disappointing.
- Meringue powder: This ingredient changed my icing game completely, giving it a silky texture and making it set properly without waiting three hours.
- Green gel food coloring: Use gel, not liquid, because liquid creates thin, pale icing and I've ruined batches learning this lesson.
Tired of Takeout? 🥡
Get 10 meals you can make faster than delivery arrives. Seriously.
One email. No spam. Unsubscribe anytime.
Instructions
- Blend your dry ingredients:
- Whisk flour, baking powder, and salt together in a medium bowl so the leavening distributes evenly, then set it aside and don't touch it again until you're ready.
- Cream butter and sugar:
- Beat them together for a full two minutes until the mixture looks pale and fluffy, which means you've incorporated enough air to make these cookies tender instead of dense. If you stop too early, they'll be heavy.
- Bring in the wet ingredients:
- Add your egg and extracts and beat until the mixture is smooth and slightly glossy, scraping down the bowl once to catch anything hiding on the sides.
- Combine wet and dry:
- Pour the flour mixture into the wet ingredients and mix on low speed just until the dough comes together, which takes about thirty seconds. Overmixing develops gluten and creates tough cookies, so restrain yourself.
- Chill the dough:
- Divide it in half, wrap each piece in plastic wrap, and refrigerate for at least one hour, or overnight if you're planning ahead like a reasonable human being. Cold dough rolls out cleanly and doesn't spread in the oven.
- Prepare your workspace:
- Preheat your oven to 350°F and line baking sheets with parchment paper while the dough chills, so you're not scrambling at the last minute.
- Roll and cut:
- Working with one disc at a time, roll the dough between two pieces of parchment to 1/4-inch thickness, then cut shamrocks and place them an inch apart. Reroll scraps gently and cut again until you've used everything.
- Bake until barely golden:
- Slide the sheets into the oven for eight to ten minutes, watching for the edges to turn light golden while the centers remain soft. Remove them a minute early if you like softer cookies, which I absolutely do.
- Cool with patience:
- Let cookies sit on the pan for five minutes so they set slightly, then transfer them to a wire rack to cool completely before decorating, or the icing will slide right off.
- Make your royal icing:
- Combine sifted powdered sugar and meringue powder, add water and vanilla, then beat on low speed for five to seven minutes until the mixture is smooth, glossy, and thick enough to hold peaks. This is where magic happens.
- Color your icing:
- Add green gel food coloring a tiny bit at a time, mixing thoroughly between additions, because you can always add more but you cannot remove it.
- Pipe and flood:
- Transfer icing to a piping bag with a small round tip, outline each shamrock with a thin line, then fill in the centers. The icing will harden to a beautiful glossy finish as it sits.
- Let it set completely:
- Wait at least one hour before stacking or serving, which is the hardest part but absolutely worth it.
 Pin it
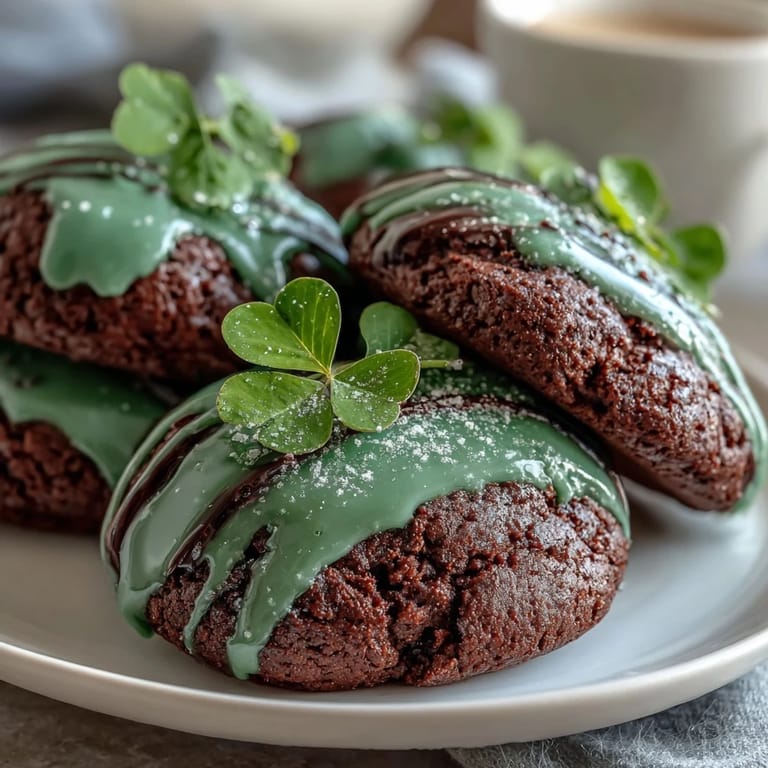
 There was a moment last year when my nephew asked me to teach him how to make these cookies, and watching his concentrated face as he piped tiny green leaves onto each shamrock reminded me why I bake. These aren't complicated, but they matter, and that's the whole point.
Storage and Make-Ahead Tips
Plain baked cookies keep perfectly in an airtight container at room temperature for up to a week, staying soft and tender the whole time. The decorated ones are best eaten within three to four days before the icing gets sticky from humidity, though they're still delicious after.
Variations to Try
Once you master the basic shamrock, you can pipe gold glitter onto the wet icing for sparkle, sprinkle nonpareils or pearl sugar for texture, or create two-tone icing by piping darker green outlines with lighter green centers. I've also made these with orange icing for Thanksgiving, red icing for Christmas, and pink icing for no reason other than it was beautiful.
Common Mistakes and How to Avoid Them
The most common thing I see people do is overbake these cookies thinking they need to be golden brown, but they actually need to come out when the edges are just barely turning color. Another mistake is using liquid food coloring instead of gel, which destroys the consistency of your icing and wastes your time.
- Don't skip the chilling step, or your dough will spread and your shamrocks will become blurry blobs.
- Sift your powdered sugar directly into the bowl to prevent lumps that make your icing grainy and disappointing.
- Work quickly when decorating, because royal icing starts to set as soon as it hits the cookie.
 Pin it
 These shamrock cookies have become my St. Patrick's Day tradition, the thing people ask for by name, and honestly, that's everything a recipe can be. Make them once and they'll find their way into your rotation forever.
Recipe FAQs
- → What makes the cookies soft and tender?
A combination of creaming butter with sugar and careful baking time helps achieve a soft, tender crumb in these cookies.
- → How is the vibrant green icing achieved?
Green gel food coloring is added to smooth royal icing made from powdered sugar and meringue powder.
- → Can I prepare the dough ahead of time?
Yes, chilling the dough for at least one hour allows easier rolling and shape cutting later.
- → What is the purpose of meringue powder in the icing?
Meringue powder helps the icing to set with a glossy, firm finish suitable for detailed decoration.
- → How can I store these cookies to keep them fresh?
Store cookies in an airtight container at room temperature for up to one week.
- → Can I omit the almond extract?
Yes, almond extract is optional and can be skipped without affecting the overall flavor significantly.